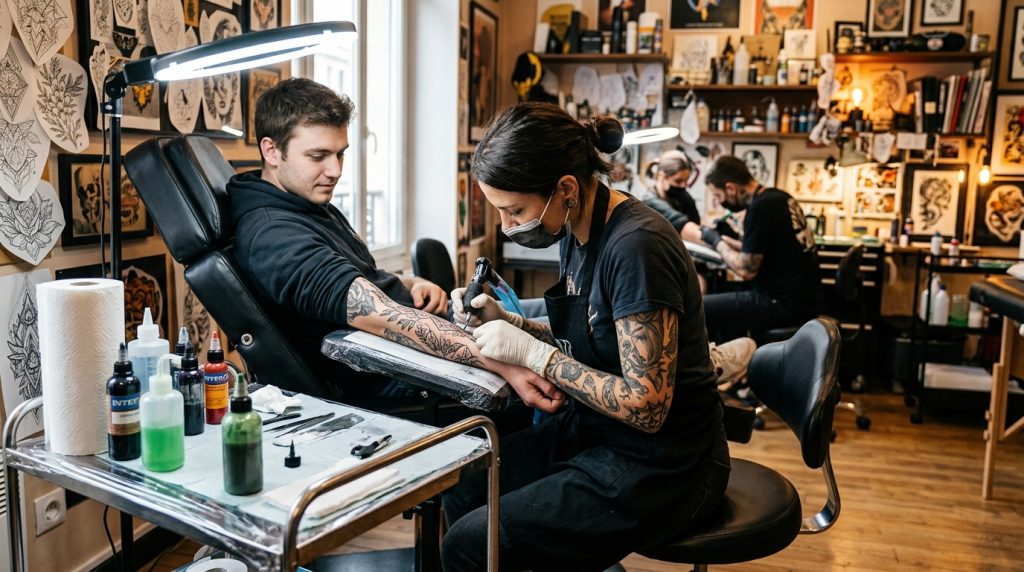
A crisp custom tattoo line depends on more than a steady hand: needle grouping, diameter, taper, machine setup, and technique all shape the result. The right configuration supports the design’s scale and detail while helping the artist control ink flow across changing skin contours. Understanding these choices makes linework decisions more deliberate and consistent.
Needle Configuration Basics for Crisp Custom Tattoo Lines
A tattoo needle configuration describes how needles group together and interact with the skin. Artists choose a setup according to the line’s weight, the design’s detail, and the area they plan to tattoo.
Needle codes commonly describe four features: diameter, count, configuration, and taper. Together, these details influence ink delivery, coverage, and linework precision. A smaller group does not automatically create better lines; the artist must also match the needle to the design and technique.
| Feature | What it affects | Linework consideration |
|---|---|---|
| Needle diameter | Ink flow and needle thickness | Smaller diameters support finer details; wider ones deliver more ink. |
| Needle count | Grouping width and coverage | Lower counts suit narrow marks; larger counts create broader lines. |
| Configuration | Needle arrangement | Round liners form precise outlines; other groupings suit shading or shapes. |
| Needle taper | Tip length and ink release | Longer tapers favor controlled detail; shorter tapers release ink more freely. |
Common diameters include #8 at 0.25 mm, #10 at 0.30 mm, and #12 at 0.35 mm. Artists often use #10 for finer control and #12 for a fuller, steadier line, but the design and individual technique determine the final choice.
Round Liner Needles for Clean Outlines
Round liner needles sit close together in a circular formation, making them the standard choice for controlled outlines. Their configuration helps create continuous marks, but the artist’s hand movement and machine setup still determine how crisp each line appears.
Round Liners for Fine and Bold Lines
Tight round liner needles create narrow, defined strokes for small details and delicate contours. Larger counts can produce bolder marks, so artists should compare the intended line weight with the stencil before starting.
Some artists choose bugpin needles, which typically measure #10 or smaller, for tiny details, dotwork, and delicate patterns. These narrow diameters can deliver less ink per pass, so consistent movement matters.
Round Shaders for Broader Marks
Round shaders place their needles farther apart than liners. Artists can use them for soft shading or broader lines, although they do not offer the same tightly grouped contact as a round liner.
For a custom tattoo design, the artist may combine configurations across different areas. A fine outline might need a small liner, while heavier contours call for a larger grouping that matches the artwork’s visual balance.
Needle Taper and Diameter for Linework Precision
Configuration explains needle arrangement, while taper and diameter influence how the needle delivers ink. Artists consider these factors together rather than treating any single specification as a guarantee of clean lines.
Taper for Controlled Ink Flow
A longer needle taper extends the distance from the tip to the needle’s full width. It generally releases ink more gradually, which can help with fine, controlled work.
A shorter taper tends to deliver ink more freely, supporting bold lines and color packing. Tapers vary, so artists should check manufacturer specifications and test familiar combinations during appropriate practice.
Diameter for Detail and Saturation
A smaller needle diameter often supports fine marks, while a wider one can carry more ink. Textured needles may retain additional pigment, whereas polished needles offer a smoother surface.
These differences affect ink saturation, but they do not replace sound technique. The artist must control hand speed, maintain a suitable skin stretch, and adapt to the area’s contours.
Technique and Setup for Consistent Tattoo Lines
Even a well-matched needle can produce uneven results if the artist changes pace or loses skin tension. A stable setup lets the chosen configuration work as intended, while careful observation helps the artist adjust technique to the design.
Before tattooing, professionals consider several connected factors:
- Line weight: Match the grouping’s size to the outline rather than choosing by habit.
- Design scale: Reserve very fine configurations for details that suit the tattoo’s size and placement.
- Skin area: Adapt hand movement and stretch to the body’s contours and skin characteristics.
- Ink flow: Consider diameter, taper, and the machine setup together.
- Practice: Test unfamiliar combinations under professional conditions before using them on a client.
Cartridges offer convenient changes between groupings, while traditional bar needles suit other machine setups. Neither system guarantees cleaner work; artists should select sterile equipment that fits their workflow and follow proper hygiene protocols.
Configuration Choices for Different Linework Goals
The best setup follows the mark the artist needs to create, not a universal rule. A practical starting point pairs a tightly grouped liner with the intended line weight, then considers diameter, taper, machine response, and skin conditions.
For fine contours, artists often explore smaller round liners and longer tapers. For stronger outlines, they may choose a larger round liner or a more freely flowing setup. Flats can suit geometric shapes, while magnums mainly serve broader shading and pigment coverage rather than fine outlines.
Artists refine these choices through experience because needles, machines, and techniques respond differently. A qualified tattoo professional can assess the artwork and select a setup that supports clear, durable linework.